.png)
Studio Build: DIY Acoustic Panels
- Jose Daniel Ramos
- Jun 19, 2022
- 4 min read

Updated: Dec 24, 2022
"They do the job but it is not worth the time!"
What are acoustic panels?

Acoustic panels help treat the sound in your room. There are a lot of places for sound to reflect and your ears can get tricked by those sounds. Having the right treatment and spending the money on your acoustic treatment first (not software or gear) will get you the right results.
There are a lot of great examples on Youtube and I got a lot of my inspiration and ideas from there.
DIY vs Pre-Made
All panels I have made have all been DIY. Unless you know how to be handy, have the time to make them (and patience to wait for materials) and at least 2 other people. Than I highly recommend DIY!
DIY is fun, it is an experience, and will always give you way more than what you asked. You feel proud for the work that you did. And it really adds to your accomplishments when you do things DIY in your studio. However, it took me 2 years to make the panels I currently have up in the studio. And the days were long. So there I am 8 hours making panels instead of making music.
But now that they are made, my room sounds a lot better. Yeah, there is a lot that could've gone better. After losing my patience, my craftsman ship did go down. Even losing a whole panel (11/12). Even then I still wasn't done treating my room. There is still a lot to do, but not much.
MY DIY Panels
It starts of by making several boxes. The inside has to be 48 x 24 inches. This will make sure that the insulation used fits nice and snug. If you want to make panels like mine, here are the steps.
Type of wood
If you want to save some money and don't care how the wood looks or feels. Use furring strips. They are cheap and always in the discount section of the big box hardware stores. Only issue, you might run into some not so straight wood. If you line them up, some steer right, some steer left, just plain curvy.
Another option is to use hardboard wood. Perfect and easy for cutting, makes them even more lightweight (perfect for clouds).
Wood is reason #1 why I don't want to do DIY panels anymore.
Check out these panels and instructions below.


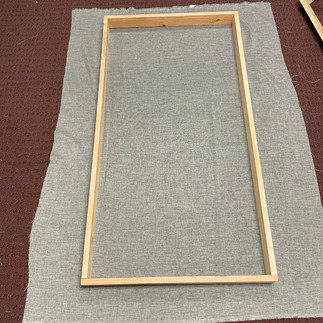


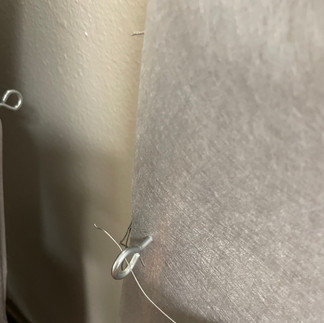


INSTRUCTIONS
1. Cut wood boards- 2x 48in x 1in (the long sides)
2x 26in x 1in (the top/bottom)
You can also add some thin 26" long 1" wide wood strips. This helps the insulation from leaning forward or back. Cut all your wood before assembling.
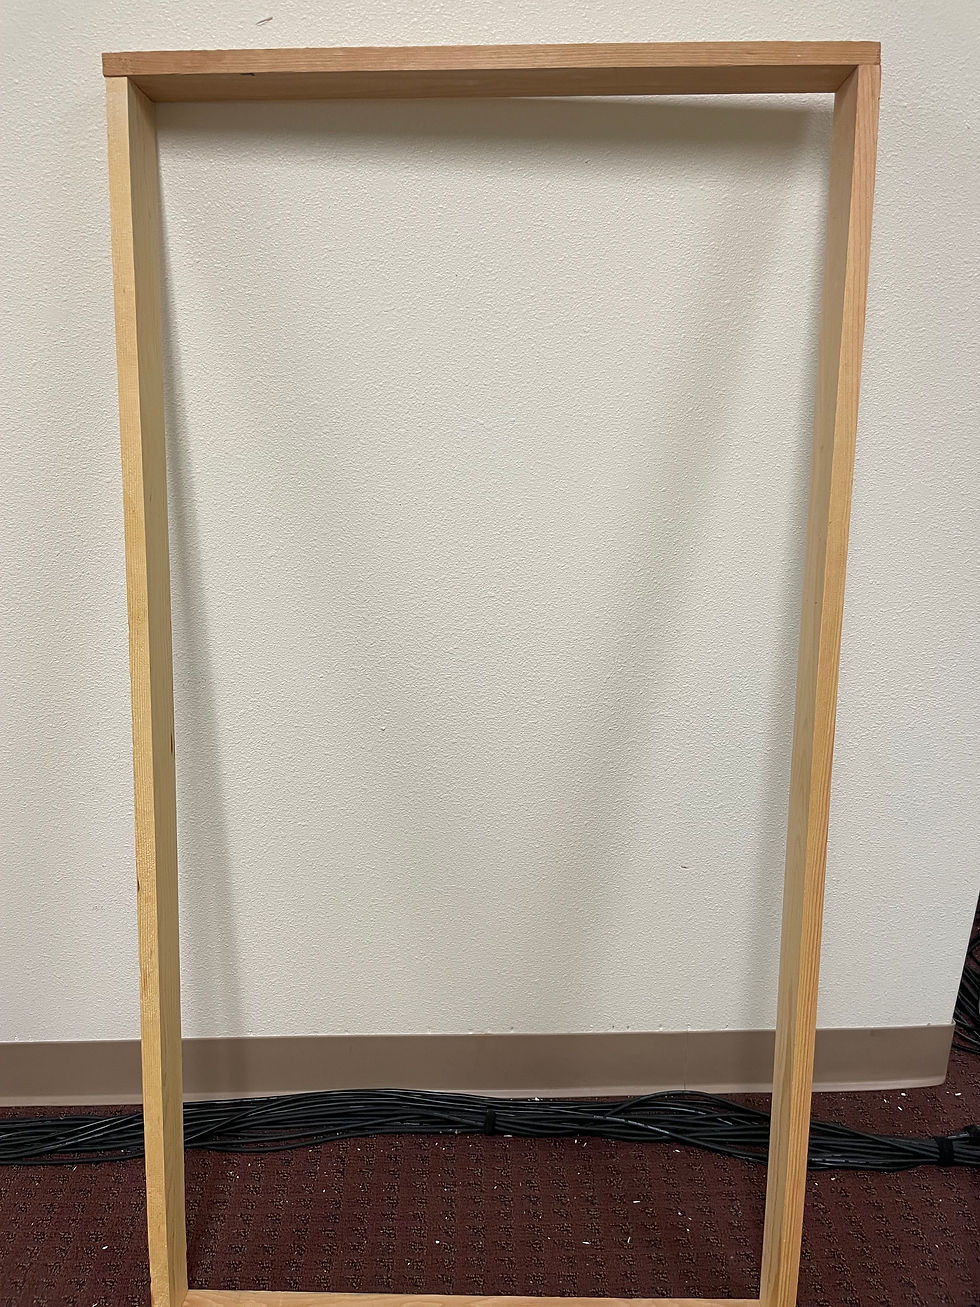
2. Once you have your pieces cut. Time to assemble. You want to put the short boards on top and the bottom. The sides go in between the short boards.
Use long screws. Pilot some holes and drill them in.
3. Material needs to be cut 54in x 30 in.
Now time to order some acoustic material. If you want to be official go to acoustimac.com (not sponsored) and get some fire rated material. All material you buy will be sold by the yard.


Any type of material that is breathable works. That's material where you can blow some air through it and feel it on the otherside.
You want to staple 1 side at a time, helps keep the panels snug. I made mine to lose.
Leave 1 side open.
When you spread the material, make sure it is nice and flat. The material has to be a little bigger than the panels, in order for the panels to be wrapped around snug.
I messed up and let a little too much material hang out. And that's how I was only able to make 11 instead of the 12 I had planned.
3. Insulation time!!! Once you have the material wrapped around the material. Just drop the insulation in the open side of the panels. They should fit snug and shouldn't be much of a problem. Easiest step!
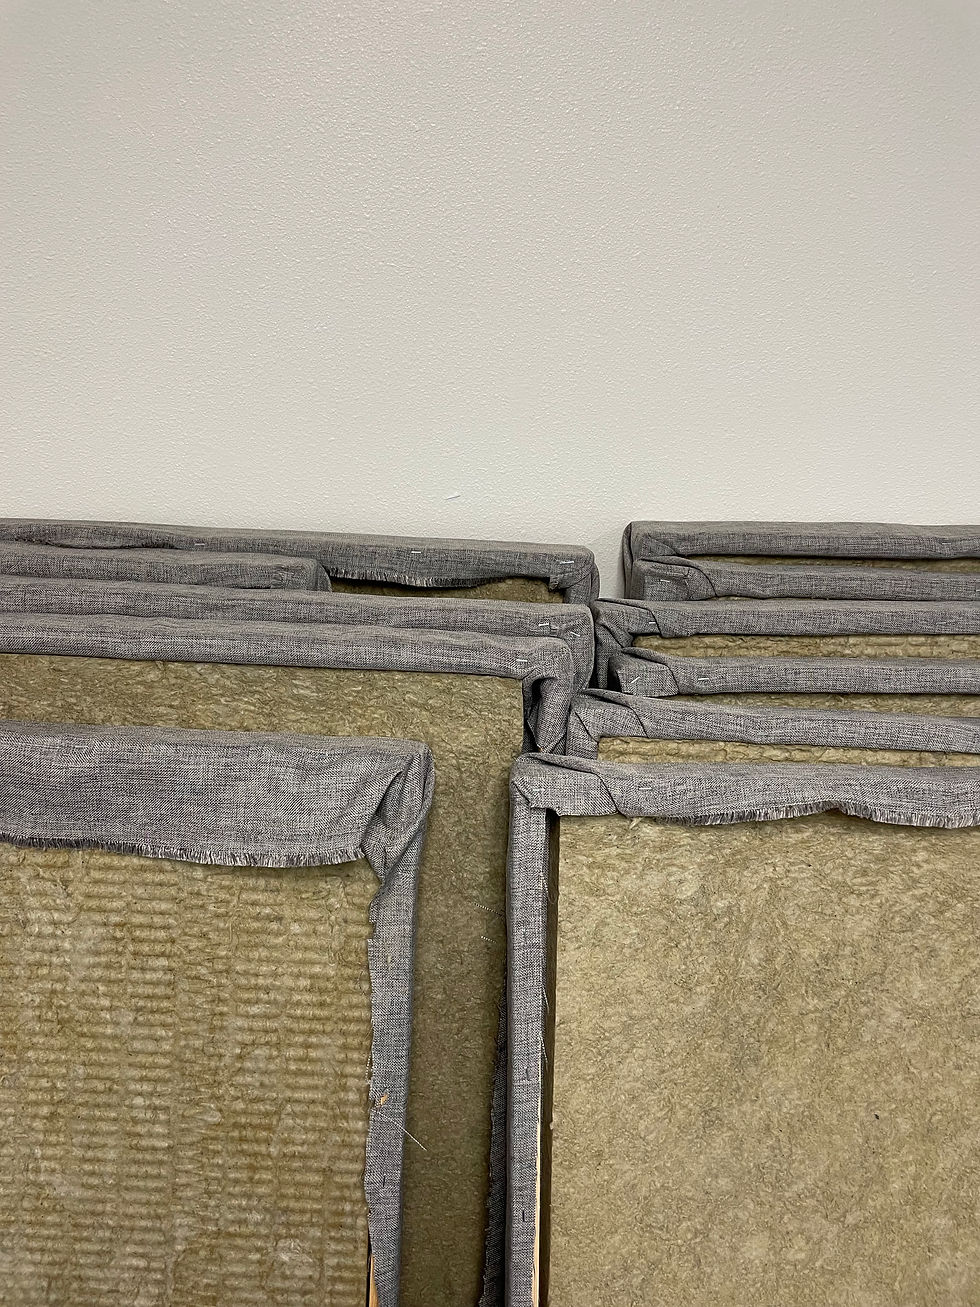

4. Now time to close up the back. The side of that panel that exposes the insulation is the back. All you need is some weed-gardening control material or furniture backing material.
I prefer using weed-gardening control. Great sturdy material.


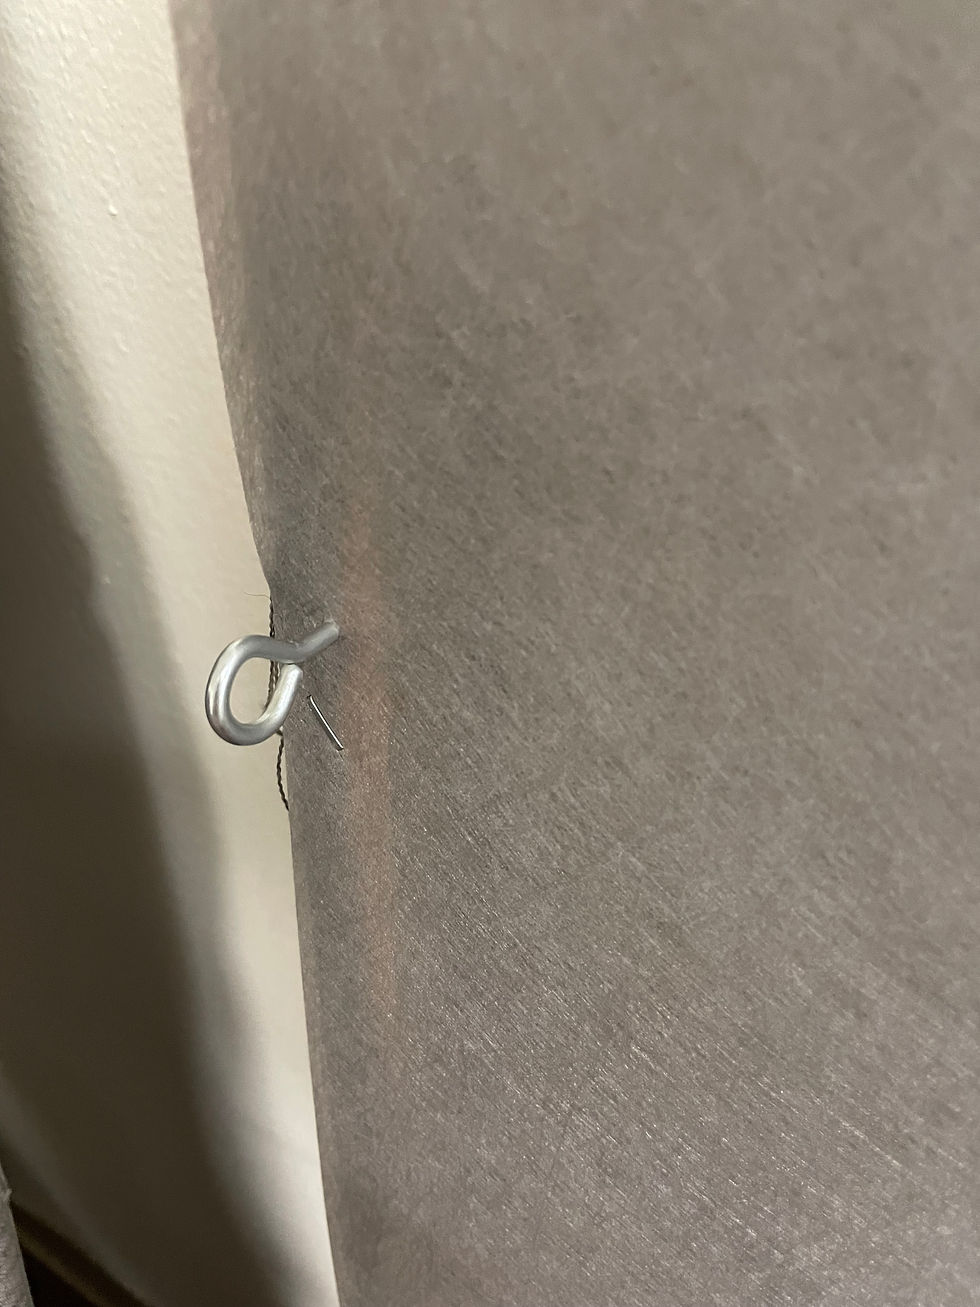
5. Now time to attach some hooks. The fastest and easiest way is to use screw in hooks. Twist them in at least 14-18 inches from the top.
6. After hooking up these panels, now you wire them. Using some basic picture frame wire should do the trick.
7. Once you loop your wire. By making the loose end go into the knot hole, and spin it around. Make sure there is some slack, and lift once both ends are tied. This will stretch the wire out.
8. Now your panels are ready to hang.
DIY Panels are a task. And if you have the time, tools, and people to help. It can certainly be done. Do I recommend it? Well if you have the time and tools yes. After a while the work can be tedious. I would not recommend this if you are in a time crunch. Invest in some well made pre-made ones, like acoustimac.com (not sponsored). Not only will the finish be nicer, you won't have to worry about the look or stress about the work (and mess).
They do the job but it is not worth the time!


Comments